Showing posts with label baby. Show all posts

30.7.12

Monthly baby photos

Before Scarlett was born, I knew I would want to take a monthly picture of her to document her growth. There are so many cute ideas out there! It was easy to find so many adorable ideas since Nicole at Chic & Cheap Nursery compiled a list of her favorites, as well as some great ideas at Babble.


The felt letters really intrigued me because it seemed really easy, which is very important for me, and not many items would be needed. The only drawback was that I would need to sew. Yes, I know that is the easiest sewing project ever and I would have been able to do it, but I just didn't want to. Instead I just stopped after making and cutting out one layer of the felt letters. They are not professionally cut since I don't have a die cutter or a cricket or any letters to trace. I just had to free hand it and you can see in the imperfections, but I kind of like it like that. Now if only I could take the pictures during the day instead of at night...

20.7.12

MADE: baby blanket

I decided to make a baby blanket for the sweet girl I visit teach.  She had her baby girl on Monday.  I started the blanket that day and finished this morning, four days later.  

 I absolutely LOVE how it turned out.  It's so so pretty.  I'm having a hard time giving it up.  Kind of want to make another one.  


I took a picture of it on the daybed to give you an idea of how beautifully it drapes.  I can just see a tiny baby girl wrapped up in it, in her mother's arms.  


The yarn I chose is Bernat Baby Coordinates but I feel so bad, I don't even know what the colors were called.  The main color is white, with a shiny strand of the same color mixed in.  And the pink yarn also has that shiny strand mixed in, but it's not solid pink.  It's a mixture of pink, yellow, and white.  I thought about making the whole blanket in the white yarn, but I'm so happy I did the border in pink.  I think it's so beautiful.

 This pattern was a bit more advanced.  It's definitely a time commitment.  I wish I would have logged my hours.  I will, if I make another.  But I worked on it a lot in those four days.  I'd take the kids out to play and just sit and crochet while I talked to friends.  I'm sure the hours are 'up there'.


The pattern I used is Caron's Mayflower Baby Blanket.  

One of these days I'll get to making some things to sell.  Why is it so hard to find the time?


12.3.12

Oh baby!

Happy Monday! This week is spring break over here! I wish that meant I was on some fabulous getaway, but in reality, for me it means I'm working more than usual because apparently everyone else went on fabulous getaways :) What about you? Do you get to go away for the week?

Today I'm asking you to take a moment out of your spring break bliss, and give me your opinion. We got rid of the baby bath we used with Liv and now are looking for a new one for the new baby. These are my three favorites that I'm considering. These are a lot different than the blue plastic one we had with Liv, but I like that all of these can be stored so much easier, and we are extremely limited on space. Plus all of these are BPA and PVC free! This might seem like a silly thing to be giving this much thought to, but since we are having our second girl there is not a lot that I get to buy brand new, so when there is something that we need I want it to be the best! 

With all that said, which do you like the best? Have you heard of any of these? Used any of these? Have any of these?


plush, made of antimicrobial foam, can be thrown in the dryer or hung on the door

can hang flat on the back of the door, non-slip, can be used in a small sink 

folds flat for easy storage, reclines for newborn, expands for sitting toddler (expanded setting shown below)

Its been a couple years since I've had a newborn. Any other suggestions of must haves or new baby gear that I might not know about? 

5.12.11

5 little monkeys swingin' in a tree. . . .

I was invited to a baby shower for twins, and I knew I'd crochet a couple of hats (because that's just what I always do for baby showers) but I wanted a little something more, so I did what I always do. . . .I called Sarah. She never fails to help me out when I need advice. We make a good team, she and I. SHE makes things, tells ME about them, then I copy her, and I post about them! It all works out. She taught herself to crochet and that's why I started. She learned to knit so now I want to learn. Basically I'm the little sister who's always trying to be like my big sis. She's usually the inspiration behind my projects and I think she needs more credit.

Back to my story.

So I called Sare and she directed me to some adorable little finger puppets on Homemade by Jill, which she had already made for a friend AND for her own little ones.

I LOVE them. They're so cute. I only had time to make them for my friend, but I DO also want to make some for my children. Christmas present?


I printed out the cute little monkey song and made 5 little monkeys and a crocodile (no pics of the croc though. oops!)

I also made a little bag to put them in. I REALLY just made it up, but if you've never made anything like this before and need a little help, surprise surprise, I was looking through our posts that hadn't been published yet and SARAH had already written one up with these links:


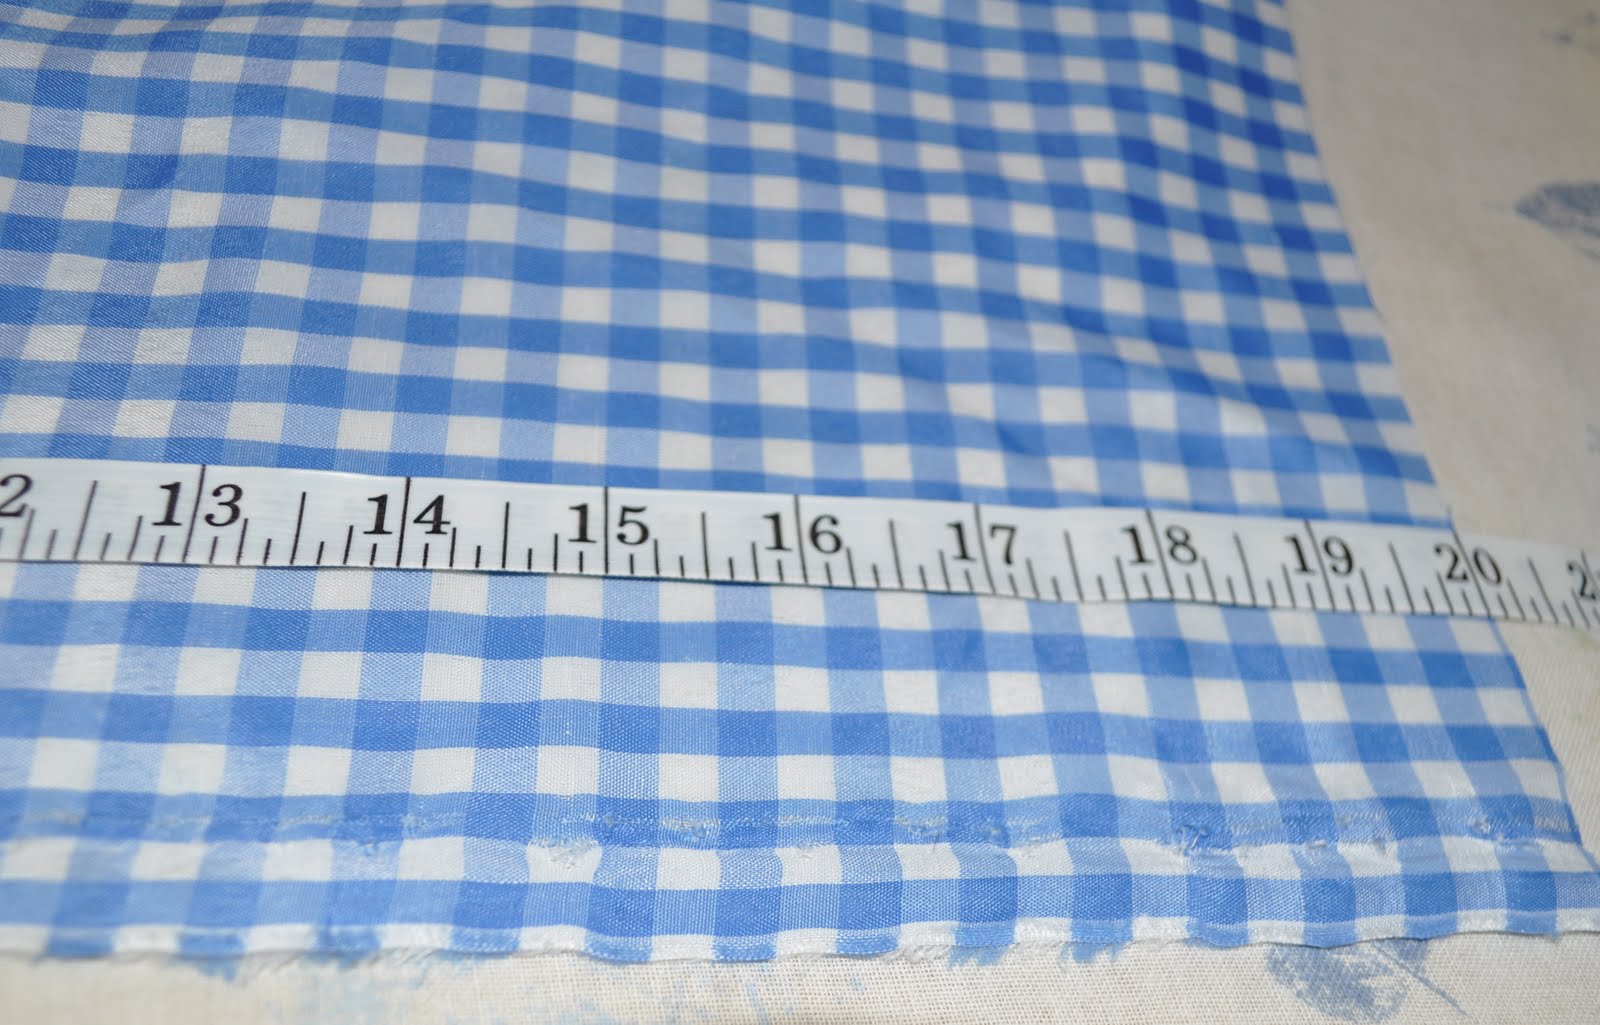
The piece of fabric I used was 20 in. x 10 3/4 in. in case anyone's curious. I only used that one piece for the whole project, so the finished bag was half that size. Sorry I didn't make a tutorial but check the link above for some helpful info.


The finished bag.

And I made each monkey face a little different than the last, just for fun.

the end.

ps did you enter the giveway yet?

1.7.11

Linky Love and the finished high chair

I contribute to a little blog called 'Save the Date for Us'. It's a place for a few friends to record our dates with our husbands. The goal is to go on one date, every week, for a year. I absolutely LOVE being a part of this project and I'm so thankful to have been invited! Although I'm behind the other girls (because I started a couple months in), the Mr. and I have gone on so many fun dates! Before joining in, date nights were a thing of the past for us. It just wasn't a priority. Now, we make time for it and we have a lot of fun thinking of what we're going to do each week, even if it's just a quick date in the living room, after the kids go to bed. DATE NIGHT has taken on a whole new meaning.

Last week, for our date, we picked out some paint for the high chair that I mentioned in my last post. We found this high chair at the antique store, for $25. We sanded it down a bit, applied a coat of primer and two coats of paint (Royal, 'Waffle Cone').

BEFORE


AFTER


AH!! So fresh. I'm loving this and can't wait to see my little Sweet P in it. I just finished this today and she's taking a nap, but we'll be using it by dinnertime!!


For my next project, I'd love to make a little seat cover for this. I know it's kind of a random project, but if anyone has seen a tutorial out there that could help, just point me in the right direction!

30.11.10

Last Minute baby projects

I finished our silhouette plaques! I used this tutorial for the silhouettes and I used the basic idea of this one for the plaques.


I purchased a crochet pattern for a diaper cover from Just Born, on Etsy and have already made one for my baby and a couple for friends. They're SO EASY and so cute and tiny. Can't wait to see baby in this!


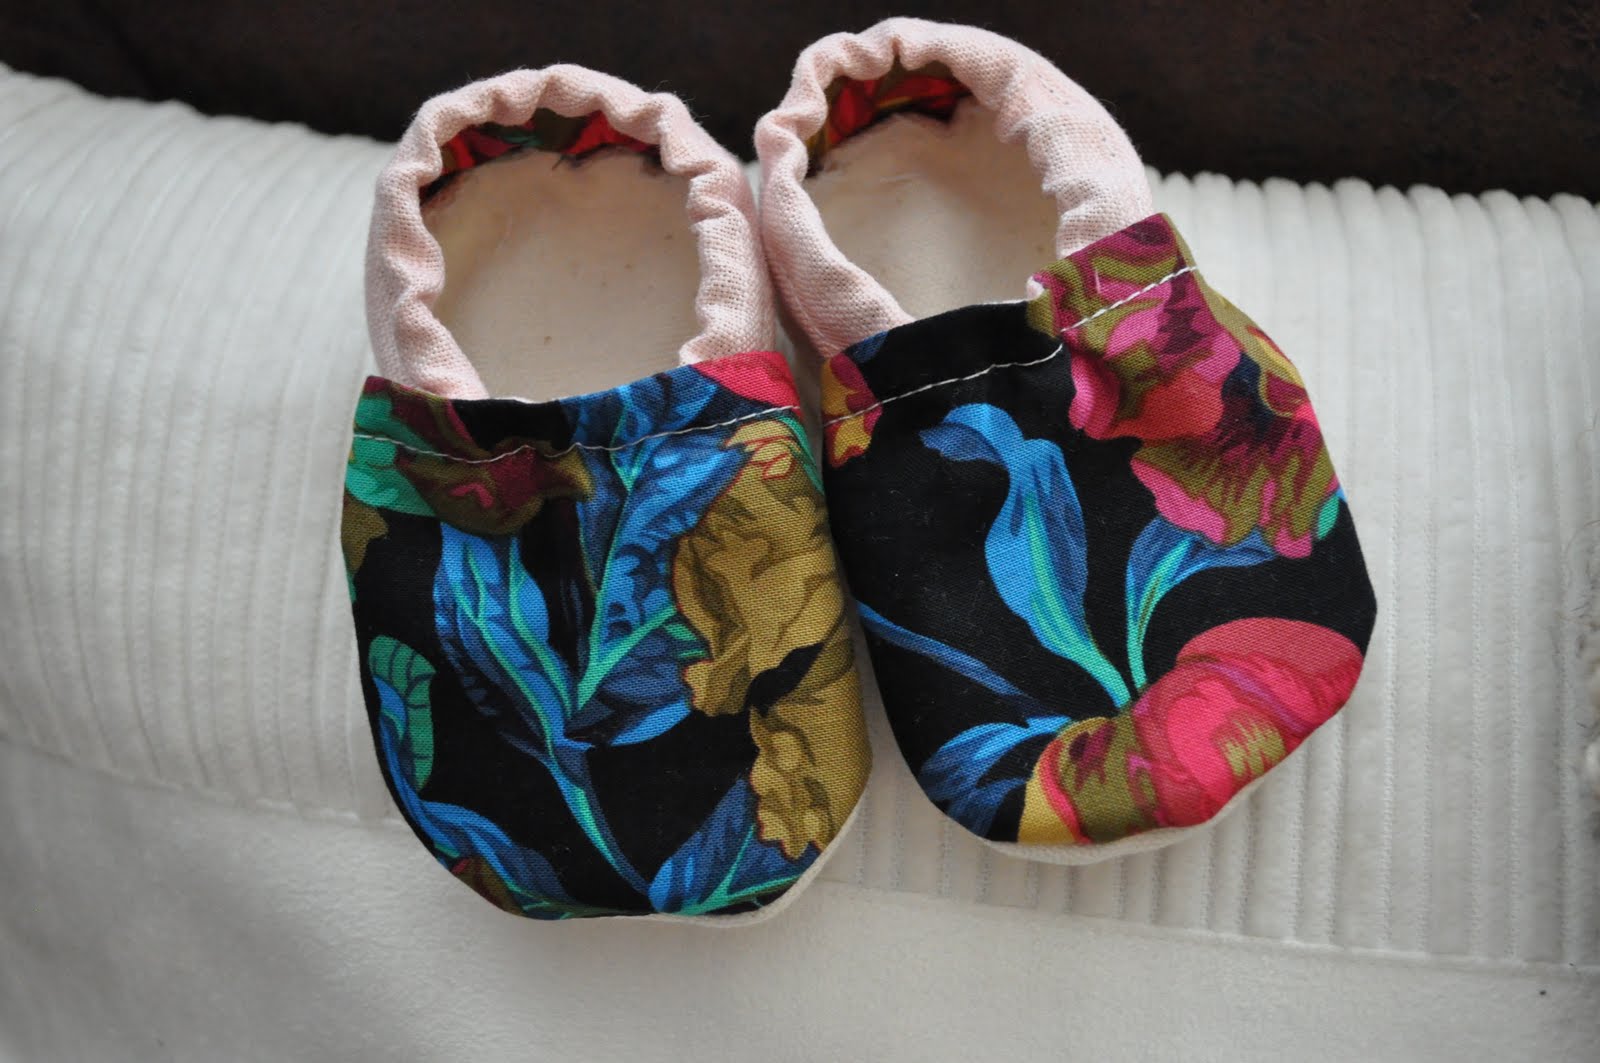
And way back in October of last year I did a post on these little fabric booties. I made some today and they, too, are such a simple project. I actually had all of the supplies already, minus the 1/8'' elastic. I used two layers of canvas in place of the bonded fleece
(and I actually didn't use fusible interfacing because I didn't read the instructions well enough. Next time I'll do it right, but they still turned out).


D-day is tomorrow!
I feel very prepared now that all of my projects are complete.

23.8.10

babies on the brain

I've been busy with lots of baby projects lately. I can't seem to turn it off. Every time I lie down to sleep, my head starts swirling with ideas.

I started a baby quilt
(first one ever, but I used these directions. So easy. I didn't purchase a pack, just picked about 10 different fabrics and cut my own 5x5 in. squares)- I've been finished with the quilt top for awhile and finally sent it out to get quilted last week. When I get it back I'll do the binding and be done! I can't wait!

071

I've made a lot of crocheted baby boots, moccasins, and booties. Here's a couple:

026

038

and I'm slowly making progress on the baby nursery
(ie, corner of mom and dad's bedroom).

069


Stay tuned for more.
xo- Poppy

18.7.10

PETUNIA + POPPY are pregnant!

That's right, we're both pregnant! Just a few weeks apart, too. Does that justify the two month gap between posts?

Having a bun in the oven makes your mind go crazy for all things baby. The first thing we wanted to tackle was baby bedding. We took a trip to the thrift store and bought this vintage floral sheet for just $2.
This was such an easy project!

I started by ironing it. Then I cut it into a 44''x66'' rectangle. This should fit a standard crib mattress.
I cut an 8''x8'' square from all four corners and then sewed each individual corner shut with a 1/2 inch seam- right sides together (I started with a 1/4 inch seam and then changed my mind and switched to a 1/2 inch. That's why there are two seams in the pic below).
Now turn it right side out and you've basically got your sheet made. All that's left is the elastic.
I folded the edge down about 1/2 an inch, ironed it, and sewed all the way around with a zig zag stitch.
Then I added the elastic. I used the smallest elastic I could find (1/4 inch). Mine was 8 yards long and I used maybe half of it. I started at the seam on one of the corners and worked my way around the whole sheet with a zig zag stitch, stretching the elastic as I sewed.
This was SO easy, I'm sure I'll be making many more in the near future. My end cost was about $2.50! And I have more fabric and elastic left over for other projects (maybe another elastic-waist skirt?)
Not bad, not bad at all.
On the agenda for the near future:

20.4.10

Young House Love

Remember when I posted about this couple? They just amaze me with all of their DIY projects that turn out looking like they come straight from a magazine. Sherry's pregnant with their first little one and I've been waiting for months to see their big nursery reveal. It was posted today and I was not disappointed. They took on every last detail, from painting to lighting to furniture to decorating. And they only used HALF of their budget. They're amazing! It's worth a peek to see all of their great ideas, finds, steals, and tutorials. So inspiring! Go here to see some before and afters, details, and links to the many projects they took on with major success.

19.3.10

Bonnets- POPPY

I don't know why, but lately I've really had a hankering for making a baby bonnet. Lately, even though I don't have girls and I'm not pregnant, I've been making baby girl things like crazy. Here are two tutorials I'll try next: Somewhat Simple and Craft Gossip.
This is kind of cute too.


I wonder if there's a crocheted bonnet tutorial? I'll keep you posted.

UPDATE on the crocheted bonnet (that was easy):

18.3.10

Wallpaper


I found this cute kid wallpaper on A Cup of Jo. Cute for a boys room or a little nursery, don't ya think?

15.11.09

Crafty


Why didn't I think of this? Instead of games at a baby shower, do like Carrie, from This Mama Makes Stuff and have the guests make things for the mommy-to-be. GENIUS! Games can be awkward anyway, and this way the new mommy is all set as far as pretty little things go: burp cloths, onesies, clothes, etc. Love!

10.9.09

Francie Pants

I think these are so cool! They're like bloomers. So our daughters won't flash the world when they wear their skirts to the park. They have sizes from diaper cover - 16! These are definitely on my wish list for my little girlie!


1.9.09

For the Birds. . . .

Little sister's baby shower was a success! We decided on a 'nesting' theme since her nursery is decorated with birds.


Photobucket

We had to stay in a budget so we weren't able to do everything we WANTED to do. We just bought some $10 invitations from Target, then added our own bird insert with directions on one side and places the mommy-to-be was registered, on the other.


Photobucket

Petunia found this great project online, for making a bird mobile. Here's the template for the birds. Very straight forward and simple, which we love. We chose fabrics we thought would coordinate well with the nursery.

We made the mobile up on our own. Hubba actually helped with that part. Eye hooks, wire, and branches.


Photobucket


Photobucket

When guests walked in, we had a table with more bird cut-outs for them to write advice for the mommy-to-be. I wanted SO bad to have a birdcage to put the cut-outs in after writing advice, but the only ones i could find were $50+! And that was thrift shopping! Don't they know I'm on a budget? So we settled for a milkglass bowl instead.

I made another mini triangle banner. Just cut up small triangles in coordinating colors and connect with a needle and thread. Hang with clear push pins.

Photobucket


I made another paper banner for baby Olivia's nursery (shown below). I took coordinating scrapbook papers and cardstock and cut a triangle out of the bottom of each. Then I took some silver paper and drew the letters of baby's name with a pencil, using a font on a computer for reference. I also used a ruler to make sure my letters were approximately the same height and width as eachother. When I felt like they looked good, I cut them out with a utility knife.

Photobucket


Then I laid out my paper in the order it would hang (with two matching sheets on each end) and taped the letters to the paper.

I took some twine, used clear pushpins to hang, and attatched the letters with clothespins. Another cute touch would be to paint the clothepins or use ribbon in place of twine, but I wanted this particular banner to stay pretty simple.

I wish I had taken more pictures. One of the scrapbook papers I used had birdcages all over it. I used that same paper, cut out a few of the tiny birdgages, and taped them to a couple of the clothespins.

From start to finish it only took about half an hour. You can mix and match solids and prints, like I did, or use all the same prints. Any would look cute. You could also use a different font and color for each letter and keep the background paper the same. Be creative and change it up!


I mod podged a big wooden 'O' for baby's room. I painted the front of the letter white and the back pink, then used a few sheets of paper to decorate. Here's a tutorial, if you're lost. Once again, I kept mine a little more simple.

We also took some of the fabric we used on the birds, and framed it. I would like to have had a collage of framed greeting cards (with birds) but remember. . . . budget, budget, BUDGET!! It was hard not to go crazy like I wanted, but these things add up, FAST, so be careful if you're planning a party. Have a plan from the beginning.

Photobucket

I know some people hate shower games but we felt like it wasn't complete if we didn't have just a couple. We played Memory and Baby Bingo.

The memory game (shown below) was made out of pink posterboard and green birds. One side had A-I and the other had 1-9. Both sides were out of order. Each bird had a baby or pregnancy-related word on the back side.

Each guest picked a letter and #. If the words on the other side matched, they got a related candybar. Okay, okay, I don't usually condone cheating, but if you need a little help with ideas, here are the ones we used:

epidural- life savers
hospital bill- 100 grand
postpardum- jelly belly's
preemie- runts
chubby cheeks- kissables
breastfeeding- milkduds
bottle- milky way
pacifier- sucker
labor pains- whoppers

It was fun thinking these up. There were a lot more we came up with (like delivery- blowpop, inception- score, *father's name*- sugar daddy, doctor- smarties) but these were the best, we thought.


Photobucket

We also played Baby Bingo. Petunia made these adorable bingo pages with pictures of little sister: #'s 1-8, scrambled, with one free space. We put numbers on 8 of her presents, she got to choose the order in which she opened them, and any time she chose one with a number, we called it out for the guests to put a square on (we cut small squares out of the leftover banner paper).

Photobucket

There were three winners, who each got 'dinner in a jar' (caramel sauce). Recipe here.

Photobucket

Favors were chocolate bars, re-wrapped in parchment paper, tied with twine, and adorned with a fabric bird. Of course a fun alternative would have been little nests with eggs (jordan almonds).

Photobucket

As I said before, I didn't get enough pictures. One drawback of hosting. I got these cheap plastic trays from Savers, spray painted the top white and the underside edges silver. They looked way cuter after painting and we used them to display some of the food. We had chicken salad, crescent rolls, delicious minty fruit salad, lemon water, chocolate chip bundt cake, and bird's nest cookies. MMmmm. I could use some of that cake right about now.

Photobucket


Happy party planning!