Showing posts with label made. Show all posts

20.7.12

MADE: baby blanket

I decided to make a baby blanket for the sweet girl I visit teach.  She had her baby girl on Monday.  I started the blanket that day and finished this morning, four days later.  

 I absolutely LOVE how it turned out.  It's so so pretty.  I'm having a hard time giving it up.  Kind of want to make another one.  


I took a picture of it on the daybed to give you an idea of how beautifully it drapes.  I can just see a tiny baby girl wrapped up in it, in her mother's arms.  


The yarn I chose is Bernat Baby Coordinates but I feel so bad, I don't even know what the colors were called.  The main color is white, with a shiny strand of the same color mixed in.  And the pink yarn also has that shiny strand mixed in, but it's not solid pink.  It's a mixture of pink, yellow, and white.  I thought about making the whole blanket in the white yarn, but I'm so happy I did the border in pink.  I think it's so beautiful.

 This pattern was a bit more advanced.  It's definitely a time commitment.  I wish I would have logged my hours.  I will, if I make another.  But I worked on it a lot in those four days.  I'd take the kids out to play and just sit and crochet while I talked to friends.  I'm sure the hours are 'up there'.


The pattern I used is Caron's Mayflower Baby Blanket.  

One of these days I'll get to making some things to sell.  Why is it so hard to find the time?


21.5.12

weekend project

Pay day finally arrived and I ran out for some fabric to make the cut chenille blanket.  I started on Saturday and finished on Sunday.  I couldn't rest until it was done.  I love my new blanket and, just as I thought, I want to make more in every color of the rainbow.  I just love the texture.  The fabric I chose wouldn't have been my first choice, but I still love how it turned out.  It's this orange and yellow ikat pattern.  And for the three layers of cotton flannel, I chose a pale yellow, a gray, and a peach and white polka dot flannel.  


I had some helpers, too.  Colse wanted to help cut the cotton flannel layers and Griff wanted to push the foot pedal under my sewing table.  A lot of  "go". . . "stop!". . . "go". . . "stop!"  Eventually I kicked him out and took over.   ; )    


I have to say, I started the cutting process with fabric scissors and felt like I might go crazy.  I looked in my sewing box and found this tool that I didn't even know I had (the one Colson is using in the picture above).  I don't think I had ever used it before, but it saved my life!  Sooooooo much easier.  Sewing the lines took somewhere around 5 hours, and the cutting (with the tool) took about 45 minutes.  Phew!  I don't think I could have handled another five hours of cutting!  I have the Clover Slash Rotary Cutter.  Trust me, you'll want something like this if you make this blanket.  The tutorial I followed suggested a chenille cutter.  I've never used one of those but I'm sure they're similar.  

 Almost done, just need to wash it:


And the finished product.  So snuggly.  The kids watched their cartoon all cuddled under it this morning.  Can't wait for the next one.  


11.4.12

I am a bow girl. 

My little one, now 6 months old, is starting to grow some hair!  I am excited to actually be able to clip hair things directly in her hair instead of on a headband!


I made several of these bows when she was teeny.  I love them because they have "no slip grip" to keep them from sliding out of baby fine hair.  I even use them to hold back my three year old's bangs (that she cut herself) when her hair is pulled back in a pony tail.

Here is the tutorial I followed (makeit-loveit).  I found it on pinterest:

First of all, everyone has their own technique.  And there are probably a variety of no-slip grip solutions out there.  This is just what I did and what I used.  All worked really well for me. 

When I was first trying to make a bow that would stay in baby fine hair, I remember seeing bows online that had a no-slip grippy on it.  Some of it looked like velvet, other stuff looked sticky.  Some people used velcro and others used magnet material.  We didn’t have a lot of money and so I was trying to figure out a cheap solution.  I remember walking around Wal-Mart one day, trying to decide what I could use to re-create that no slip grip, and I walked by rows of this shelf liner stuff and had an “ah-ha” moment.  This liner material keeps things from slipping in cupboards and on shelves…….why not baby hair.  So I started using it on my hair clips, and it worked like a charm.

And just when you think you have the best idea ever……..you realize other people have it too.  Ha!  Because I have seen other people use this stuff to make their own bows since I thought it up for myself that one day.  How funny!  I swear, we should all participate in a huge think-tank and share all sorts of tricks and secrets.  It would save us all a lot of grief.


Anyway, to make these hair bows (without actually tying a bow), I used 3/8 inch ribbon.  (Grosgrain works best in my opinion.)  I cut 3 pieces that are 4 inches long.  I also use a double prong hair clip that I always buy at Sally Beauty Supply….and they’re about 1 3/4 inches long.  (I found similar ones online here, in case you don’t have a Sally’s.)  Then I cut a piece of the shelf liner that is the same size as the prong section……so about 1 and a  1/4 inch by 1/3 of an inch.  And a piece of felt that is about the same size.


To begin, grab your roll of ribbon and heat seal the end (I use a lighter).

Then hot glue about a 1/2 inch of the end of the ribbon to the very bottom of the clip with the right side of the ribbon facing out (if you have a right and wrong side).

Then add a strip of hot glue to the next section of ribbon…

…..and then fold it around the contours of the pinch part of the clip.  (Don’t worry, the clip will still pinch and the glue won’t affect the spring at all.)

Then measure how much more ribbon you’ll need by stretching it to the tip of the clip, then fold it back up the length of the prongs.  Cut the ribbon off.

Heat seal this end of the ribbon now too.

Now add a long strip of hot glue down the back side of the rest of the ribbon.  Then lay it flat across the top of the top prong, then fold it under towards the bottom of that top prong…..to completely conceal that top prong.  Press the ribbon together to seal the glue together, and keep the ribbon in place.

Now, grab your 3 pieces of 4 inch long ribbon.  Tie a single knot in the center of one of the pieces of ribbon.   Try to make it a neat little knot and keep the two ends flat and laying in the same direction.  Heat seal the ends of the 2 un-tied pieces.

Then grab one of the plain pieces and bend it into a circle.  Overlap the ends by about a 1/3 of an inch and then hot glue them together (image on left).  Then pinch the circle right in the center, creating half of your bow shape, and add a little dot of hot glue to the inside center to keep it pinched together (image on right).

Do the same thing with the other piece of ribbon.  Then cross the two pieces together……not into an actual “X”, more like a squashed one.  Add a dot of glue between the two, to keep them together.

Then place the piece of ribbon with the knot in the middle, right in the center of the squashed “X” (image on the left).  Place a dot of hot glue right under the knot, so it doesn’t move around.  Turn the bow over and cut off the long ends just a bit and glue them down on the back side (image on the right).

Now, glue the piece of shelf liner to the piece of felt.  Press the two layers together. 
CAUTION: this can get hot.  Test it with your fingers and wait until the glue has cooled from hot to warm and then squish the 2 layers together.  Glue will most likely ooze out.  Just peel it off your fingers and continue on!!
Trim off the excess along  each edge, making a nice clean line around all sides.

Then hot glue the felt side to the top prong.


Then glue the bow to the very top of the clip…..right to the ribbon.


Why I do the bows this way:
  • I make the bows in parts so that the bow looks very clean and even.  You can always tie some ribbon into a bow and then glue it onto a clip……but it’s hard to get a nice even bow that way.  It’s totally just preference though.
  • I don’t wrap ribbon around the bottom prong because it’s hard to slide it through hair (like for older girls pony tails and such) if there is ribbon on the bottom.  If you leave it bare, it can slide into hair much easier.
  • I don’t put the shelf liner on both sides  of the prongs because of the reason mentioned above…..I want to keep the bottom prong bare.


And that’s it. 


Also . . . A friend of mine told me about a website called wholesale girls, where you can find lots of headbands and other accessories  -- super cheap!  I was spending $4 for elastic headbands (to pin bows on) that they sell on their site for $.79 or less!  But it looks like we're headed out of the headband stage . . . Yay for hair!

22.3.12

MADE: Crocheted leggings

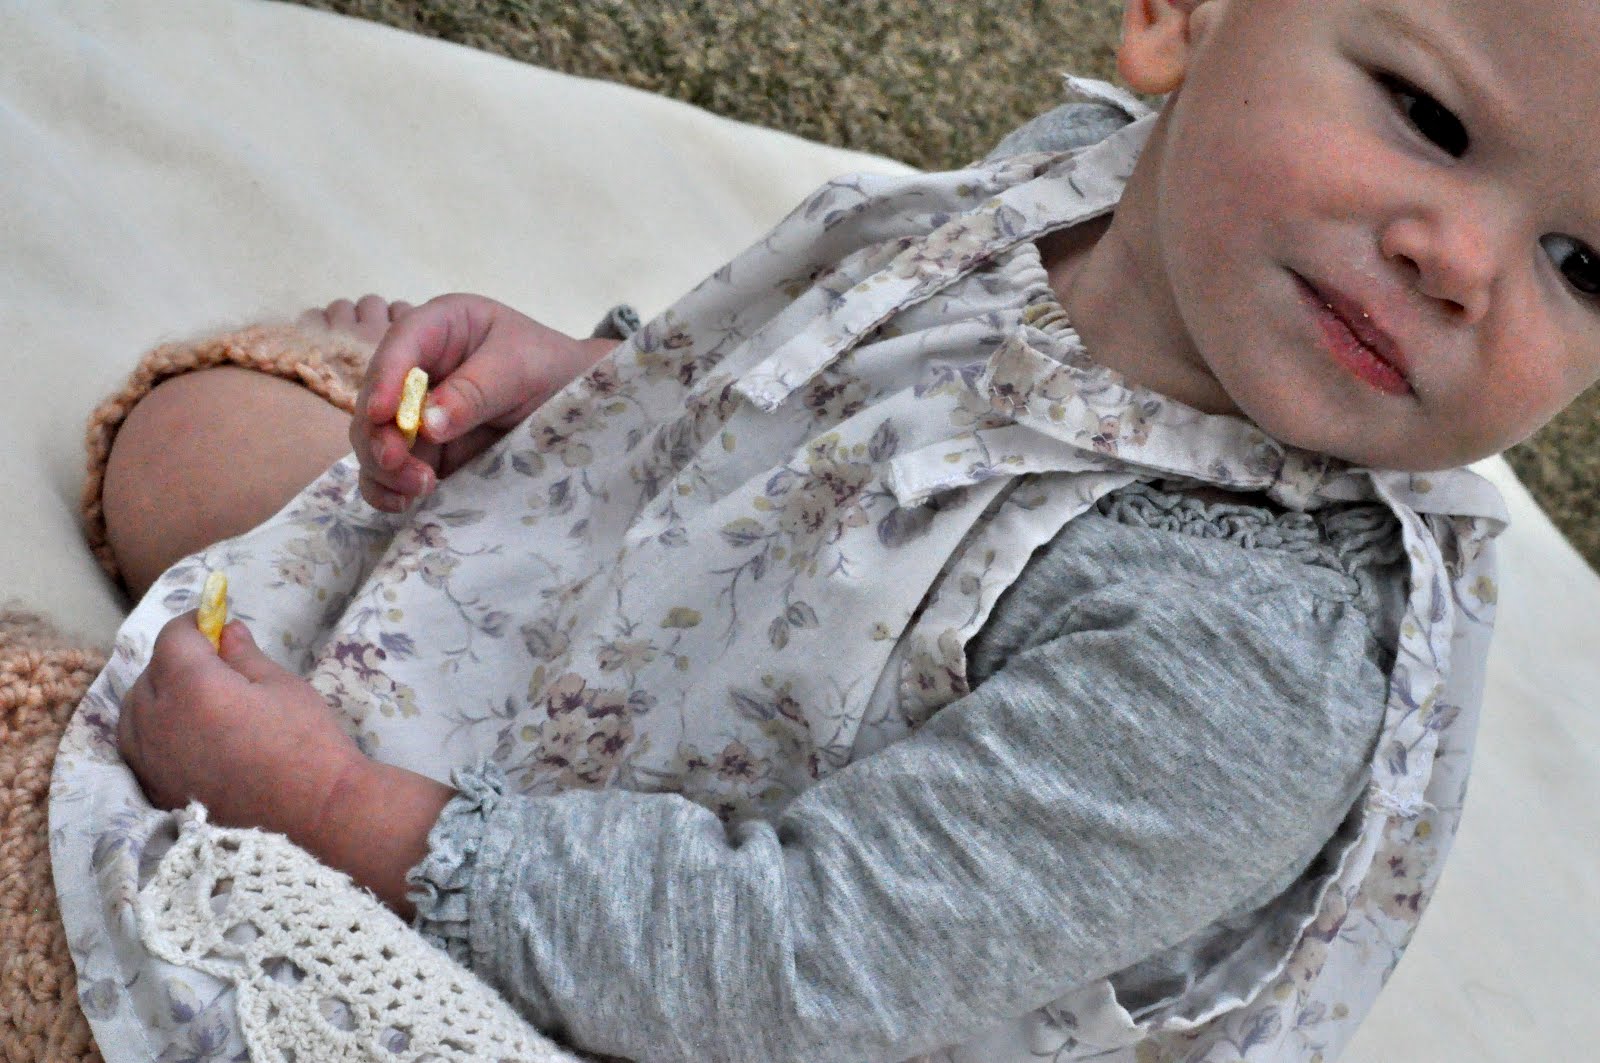
I made these pink crocheted leggings for Penelope when she was just a few months old. She finally wore them the other day, with the pillowcase dress*, and I about died.


It was just a little chilly out, but still nice enough for her to be running around barefoot. The leggings were perfect to keep her chubby little leggies warm.


I found the pattern via Pinterest, at Crazy Socks Crochet.

*I can't believe it used to be so BIG on her! Now it's so short, you can see her bloomers!

17.3.12

MADE: Knitted Scarf

I completed my very first knitting project!!!


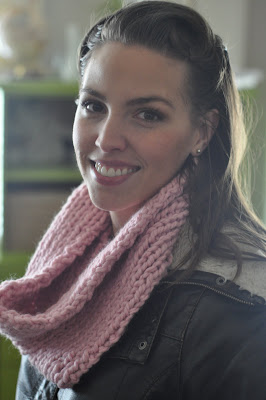
I made this pink cowl. It was a fun, simple project.

I started over countless times, because I'm still new at knitting and wanted it to be perfect, but I finally got the hang of it, and was able to do 81 rows without messing up! Knitting and crocheting are both so relaxing to me (once you get past the frustrating learning stage). I love to wind down at the end of a long, stressful day, with a hook or needles in hand, and clear my mind while making something BEAUTIFUL. It's so fulfilling to me.

This scarf consists of a ribbing stitch (knit, purl, knit, purl. . . .) Tutorial at Everything Fab. I'm excited to make more of these for friends, or maybe to sell. I love wearing a simple, colored scarf, as an accent piece to a monochromatic outfit.

1.5.11

Coffee Table with Wheels

I mentioned ana-white.com before, in this post.

We loved the look of THIS unconventional, factory cart, coffee table on her site, so we (and by 'we' I mean Hubba) built one, adjusting the instructions to our own needs.

Factory Cart Coffee Table


We can ALWAYS use more storage, so he made the top with hinges, to store some books inside.

The wheels gave us the most trouble. I'm pretty picky when it comes to our projects. When I like the look of something, I'm not going to settle for less than perfect. I believe that, if it's not going to look like the picture, it defeats the purpose of building it yourself. You might as well shell out the money for the original. If you're going to cut cost by making it yourself, you don't want it to LOOK like you made it yourself. I LOVE when people come over and ask where we bought our bookshelves. That means we did our job.

Photobucket

Anyway, the only similar casters we could find were antique, heavy duty ones, which I LOVED, but they were WAY beyond our budget. We were -this close- to just buying the expensive ones, when Hubba worked his magic and found THIS site. He searched "cast iron", and found some four-inch casters for about $12 each (as opposed to the antique ones, for $40+ each). They were brand new, and shiny, which is NOT what we wanted, so we spray painted them with Rust-Oleum Hammered paint in black, and I'm really happy with the outcome.


Photobucket

25.4.11

Weekend Project

I made this shrug from a pattern I found on Lionbrand.com. It took me a good three days and 3 skeins of yarn (Lion Brand Homespun, in Fiesta), but I finished it on Saturday and I've already worn it twice since then. I'm wearing it right now, as a matter of fact. It's so warm and cozy.

Photobucket

Photobucket


7.2.11

Pillowcase dress

I used some of my Wal-Mart fabric to make a pillowcase dress for baby P. It was pretty easy, despite my boys breaking my seam ripper. . . . for the SECOND TIME.

sigh.


I guess I'm on a doily kick. I sewed one on because I thought it was a good complement to the fabric's vintage quality.

Pillowcase dresses appeal to me for many reasons.

1) they're extremely easy to make (imagine how much easier they'd be if you actually use a pillowcase!),

2) they're extremely cute,

3) they're extremely versatile. Right now it's cold out, so I put a long sleeve shirt under it. In the Spring she can wear it without anything under, as a light summer dress. And, as she gets bigger, she can wear it as a shirt, with skinny jeans or shorts.

and 4) you can be creative. I love a good reason to use my creativity. Use bias tape OR ribbon for the ties, you could add lace or ric rac to trim the bottom, you can add buttons, ribbon, doilies, or fabric flowers to the dress, you can use a print OR a solid color. Endless possibilities.

I used a couple different tutorials, from Freshly Picked and The Needle and the Damage Done.

If you want to try this, here's a tip for when you attach the elastic:

1) measure your baby's collarbone
2) mark the elastic (don't cut it yet)
3) feed it through the hole with a safety pin
4) sew next to your safety pin, to attach the elastic
5) pull the safety pin to make sure the elastic is now sewn to the fabric
6) if it IS, take the safety pin off (still don't cut your elastic yet)
7) now pull the fabric to the side until you see where you marked the elastic.
8) sew at the mark
9) once again, pull the elastic to make sure it's attached
10) NOW, cut your elastic

This was the only place that gave me trouble. I didn't catch the elastic and it was pretty difficult. . . .you know, not having a seam ripper and all.

5.2.11

Doily Pillow: MADE


So. . . . I love the one I posted before and would love to make one like that, covering the whole pillow with doilies, but I did it this way instead, partly because I wanted the pretty fabric to show and partly because I don't have many doilies and I want to use some of them in other projects.

Our little sister's birthday is today, and I made this mini pillow for her. I didn't have a pillow form so I used leftover fiberfil I had from stuffing a crocheted lion. I used the white doily that I crocheted because I thought it added a special touch and made the gift more thoughtful.


happy birthday sistee!

17.11.10

MADE

Before I get to my post, I have to say congratulations to SISTER!! Sarah had her sweet baby girl about three weeks ago and she's a little doll.

Two weeks left for ME!!


Now, onto what I MADE:

Yes, I completely copied hers, but I liked her color scheme and happened to already have those exact supplies (minus the wreath form). When I went to the craft store, they didn't have straw wreaths, as she suggests, so I just got a styrofoam wreath and used the instructions from the wreaths I made last year.


I wish I was better at taking step-by-step pictures, but I always think of it after the fact. If you're going to use a styrofoam wreath, you also want to buy:
batting
floral pins
a roll of tulle

instructions:
1. cut the batting into long strips about 2 inches wide
2. wrap the batting tightly around the wreath until every inch is covered.
3. next wrap the tulle the same way, on top of the batting and pin in place with the floral pins
4. THEN you can start wrapping with yarn and follow danielle's instructions from here

So many possibilities with these wreaths. I have a bunch of ideas I'd still like to try. That is, if Hubba's willing to let me spend more money on mindless things like crafting. I can't help myself. I'm addicted!

My next project is silhouette portraits. I've been wanting to make these for AGES and finally took the time to learn how to do them. I'll post the finished product hopefully soon.

Some helpful hints, if you'd like to try:

silhouette plaques at Thompson Family-Life
DIY at Casa Sugar

13.11.10

8 DIY wreaths from Apartment Therapy

I want to make some of these wreaths before Christmas. We're getting the house in order for the baby's arrival in a couple weeks and we'll most likely decorate early for Christmas, since who knows how much energy we'll have with a newborn in the house (and I refuse NOT to decorate for Christmas). SO. . . .it looks like I'll have to find some time for this project pretty soon. I ESPECIALLY want to make this one:


BEAUTIFUL!

I LOVE the colors! It's a lot like these ones I made last year.

Photobucket

16.7.10

Baby quilt

I've always had a love for quilts. While my sisters were asking for new clothes for Christmas, I was begging mom for a new quilt.


So it's no surprise that, when I came across this Moda jelly roll at a boutique in Pasadena (for only $12!), I just had to have it. Something about the vintage feel just pulled me in. The only problem? I had no idea how to put a quilt together.

With a little common sense and a leap of faith, I pieced the strips of fabric together, to create this:


I sewed all of my strips together in the pattern above (right sides together. 1/4 inch seam. first I sewed the individual row, then I sewed the rows together).
Then I was stuck.
With a little internet research, I found out I needed layers:
a top layer (above)
a middle layer (the 'cushion')
and a bottom layer
then binding for the edges
(I used tutorials from connecting threads to learn how to make the binding--and I did NOT do any hand stitching)
Common sense, right?
I ended up purchasing some batting for the center and looking online for some fabric from this (discontinued, boo!) American Jane by Moda line, for the bottom layer and the binding.
After a lot of work and a big headache, I love my 'extremely-imperfect-but-I-did-it-all-on-my-own-so-I'm-proud-of-it' quilt.

Right about now, I'm kicking myself for not buying a few of the other jelly rolls I saw at the discounted price. I'd like to make a quilt for each of my kids. Time for more research.